English
 日本語
 한국어
Home / Blog / Indusrty News / Aluminum Window Extrusion: Alloy, Wall Thickness, Thermal Break, and Finish
Indusrty News
A fabricating shop sends over a drawing set for a 70-series side-hung casement and asks for twelve tonnes of aluminum window extrusion, powder coated in RAL 9016 and cut to 6.1 m. Three lines on that drawing drive most of the quoted price: alloy temper, wall thickness in the load-bearing chamber, and whether the section carries a polyamide thermal break. The rest — gloss level, corner crimping method, packing — is arithmetic layered on top.
Short answer: 6063-T5 suits most residential window frames; step up to T6 only where spans or wind load demand it. Hold wall thickness at 1.4 mm for standard residential sections and 1.8 mm or more for commercial frames, and buy a thermal break only where the finished window has to meet a stated U-value. A break in a fixed light in a mild climate is money that never comes back.
Content
Extrusion is a straight push. A heated 6063 billet at roughly 480-520 °C is forced through a steel die at 5-15 m/min, quenched and stretched. What comes out is a constant cross-section that already contains the hardware groove, the glazing rebate and the drainage path. None of that changes after the die is cut, which is why the section drawing and the tooling matter more than anything done later.
6063 is the default because it extrudes cleanly, anodizes brightly and holds wall thickness without drama. T5 (air cooled, then aged) yields roughly 110-145 MPa; T6 (water quenched, aged) reaches 170-205 MPa but distorts more and costs more to straighten. For a 1.5 m casement sash, T5 is enough. For a 2.4 m sliding leaf or a frame carrying a heavy triple-glazed unit, T6 is cheap insurance.
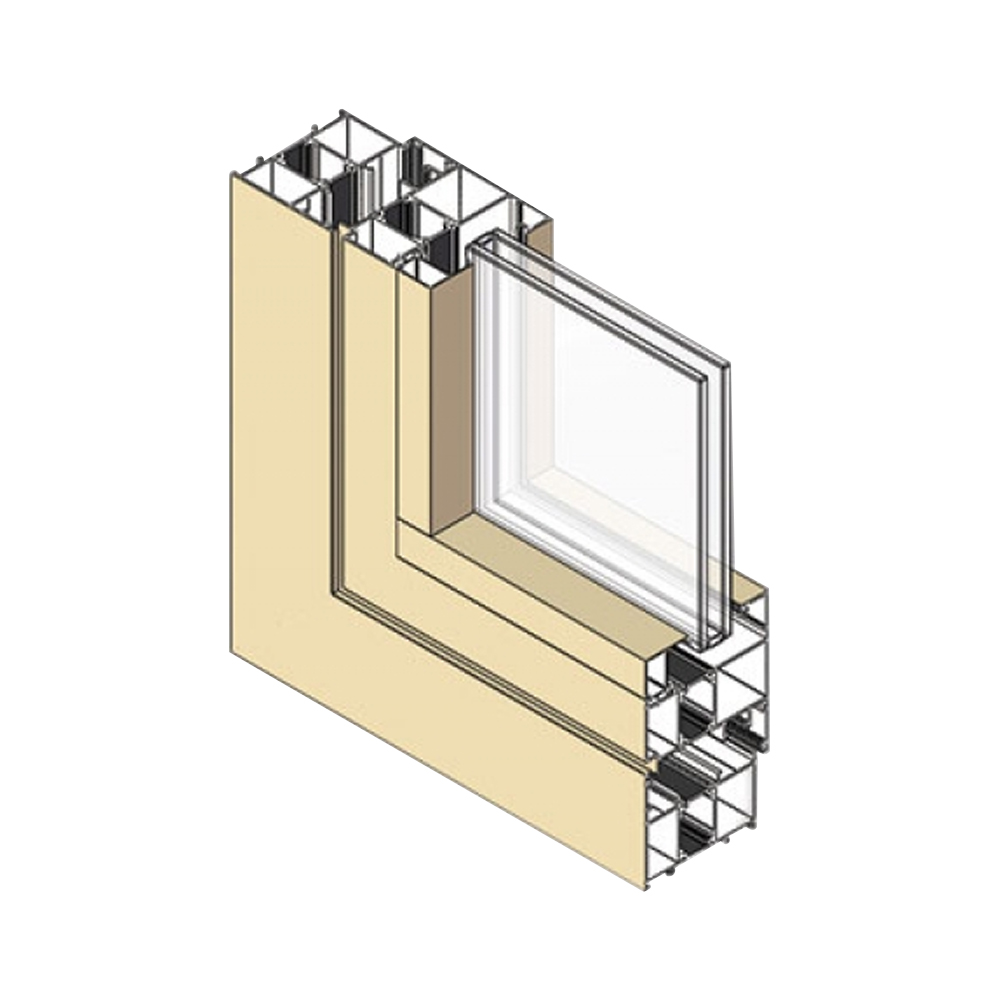
Three chambers versus five is not marketing. The outer chamber carries drainage, the middle one holds the break or the reinforcement, and the inner one takes the lock and hinge screws. A 20 mm Euro hardware groove and a screw boss of at least 0.9 mm wall are the two dimensions most often missing from low-cost sections, and both are visible in a 200 mm cut sample before you order.
A PA66-GF25 strip, typically 24 mm wide, is knurled, inserted, crimped through the aluminum and then potted with two-component polyurethane. Skipping the potting is a common cost cut: the crimp still holds the strip, but water can travel along the interface and show up later as condensation or a failed bond in the pull test.
6063-T5 — residential default, best anodizing response.
6063-T6 — higher yield for long spans and heavy glazing.
1.4 mm — usual minimum wall for residential frames.
24 mm PA66-GF25 — typical break strip width, potted.
The same alloy and finish land at very different prices depending on what the section has to do. A fixed light needs a rebate and a gasket groove; a tilt-turn needs a full hardware plane, a locking channel and an offset drainage path. The comparison below reflects typical 70-90 series systems.
Note where the money goes. Hardware preparation and tighter wall tolerances add more to the metre price than the finish does, which is why two quotes for the same colour can differ by a third and still both be honest.
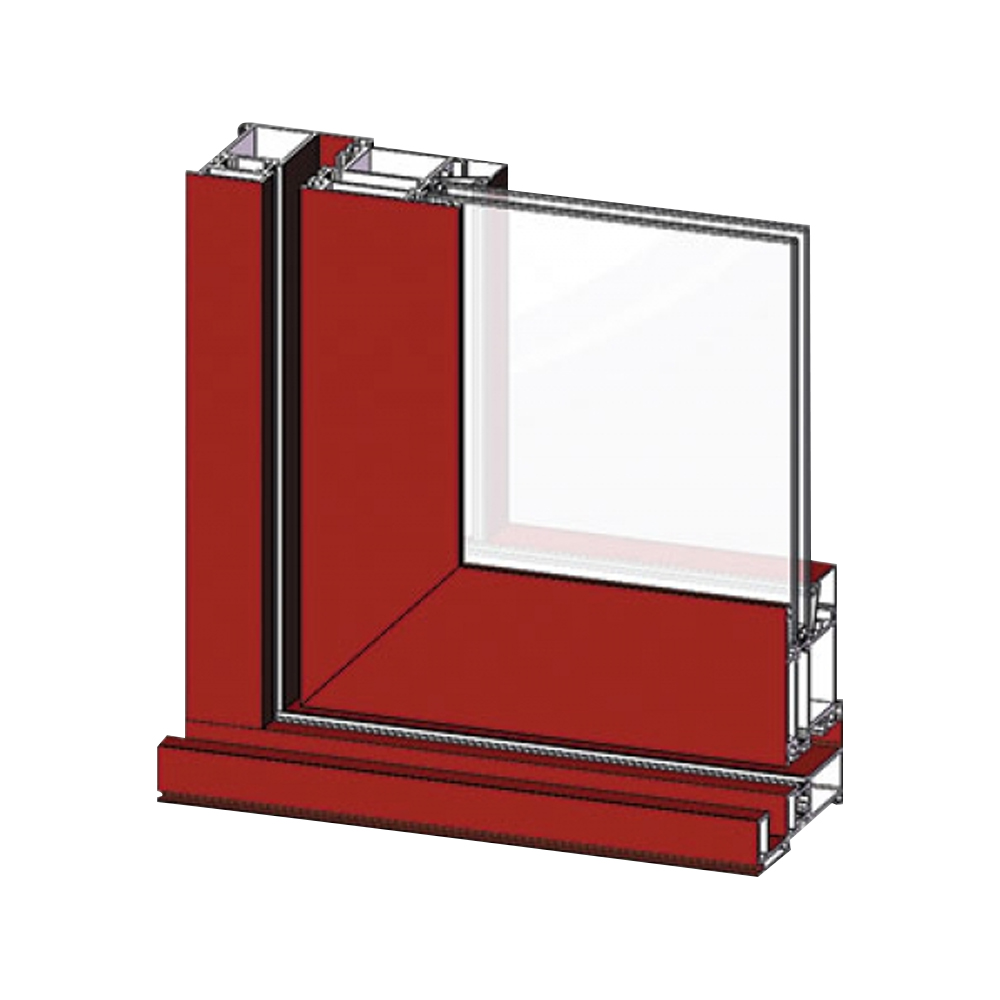 Custom Thermal-Break Aluminum Door and Window ProfilesExtruded aluminum door and window profiles with thermal breaks, offered for residential and commercial projects; useful when comparing specifications behind differing quotes.View Product →
A good way to build an inspection plan is to look at where defects actually cluster. In a review of 214 nonconformities recorded against delivered window sections, five causes accounted for nearly all of them.
Wall thickness is the one to measure first. EN 755-9 permits roughly ±10% or ±0.15 mm depending on the dimension, so a nominal 1.4 mm wall can arrive legally at 1.26 mm — still compliant, but about 20% less material in bending. Ask for a measured report per lot rather than the nominal on the drawing. Twist matters just as much: 1 mm per metre is a common limit, and anything beyond it appears as a gap at the corner joint, never as a rejected delivery. A wider comparison of how strength, shape and finish trade against each other is worth reading before you lock a drawing: strength, shape and surface finish compared.
Finish is the second-largest line on most window-extrusion quotes, and the most common source of arguments three years after handover. The split across typical architectural orders looks roughly like this.
Cure temperature is the hidden constraint. A standard powder bake runs at 190-200 °C for 10-15 minutes; PA66-GF25 tolerates that, but some foam inserts and low-grade gaskets do not, so state clearly whether the break is inserted before or after coating. The process options and their limits are set out in the surface treatment overview.
 Aluminum Profile Surface Treatment and Finishing OptionsPowder coating, anodizing, PVDF, electrophoresis, wood-grain transfer, sandblasting, and printing for extruded aluminum profiles, with process limits relevant to coating and thermal-break sequencing.View Product →
Die ownership deserves an early conversation. On custom tooling, confirm who holds title, how many shots the die has run, and what happens when the section drifts out of tolerance after 80,000-120,000 metres. A die cut for one project rarely suits the next one unchanged, and re-cutting mid-programme is the most expensive surprise in window work.
 Custom Aluminum Extrusion Mold Design and ManufacturingPrecision custom extrusion molds for complex geometries and tight tolerances, positioned to reduce machining, material waste, and production cycles across construction, automotive, and electronics applications.View Product →
Profile cost breaks into four parts: billet, conversion (extrusion plus ageing), finish, and fabrication. Billet tracks the metal market and is usually invoiced on a monthly average plus a conversion fee; the other three are negotiable specifications, and that is where a buyer has real leverage.
Take a 1.5 m² casement carrying about 9 m of profile at $3.20/m. A 20% premium for a thermal break adds roughly $5.80 per window. Where heating or cooling load dominates and the break pulls frame U-value from around 5.8 down to 2.8 W/m²K, that premium is normally recovered within two or three seasons of operation. In a mild climate with fixed glazing, it is not, and no brochure language changes the arithmetic.
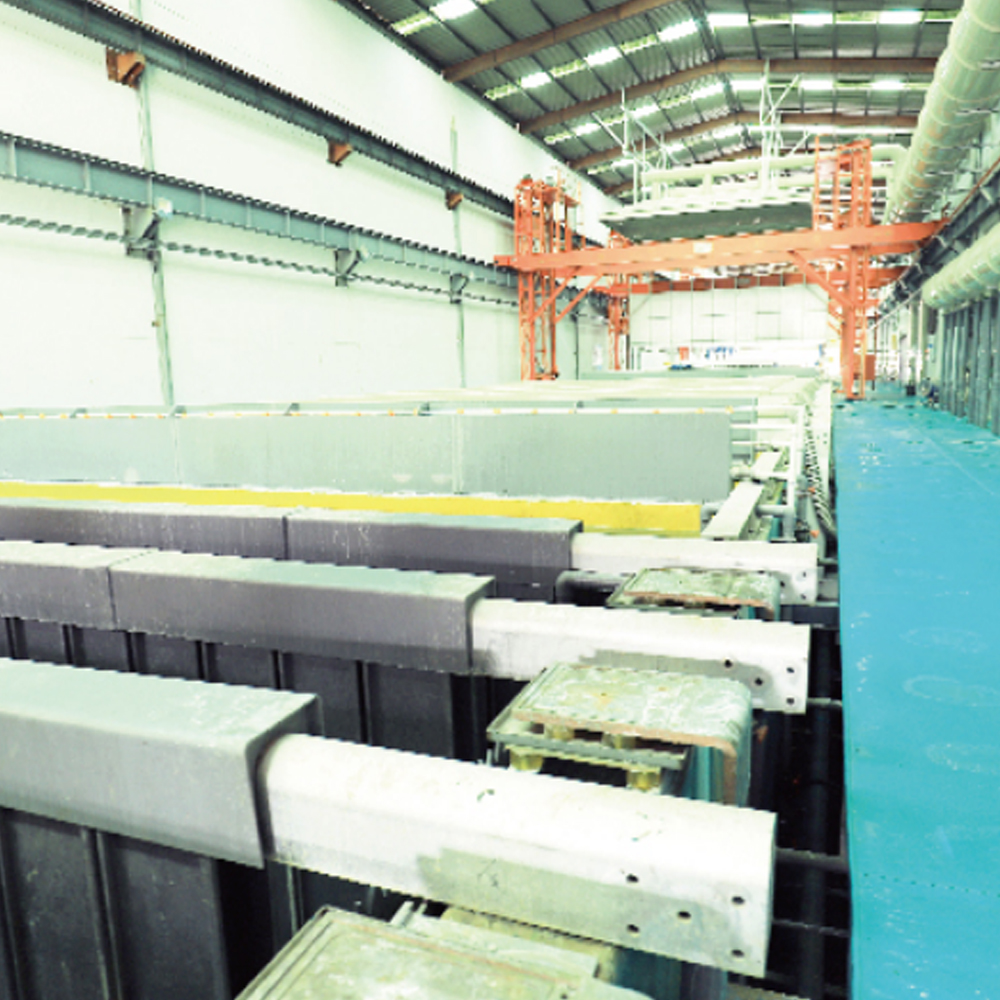
Capacity claims are easy to make. Check the factory's published capacity and plant background — press tonnage, die count, monthly output — before you commit a season's order.
Compliance paperwork usually arrives late in a project and then holds up the handover. Collect it at the point of order instead.
In service, three habits extend frame life: keep drainage slots and weep holes clear, replace EPDM gaskets around the eight to ten year mark before they harden, and clean anodized or PVDF surfaces with pH-neutral detergent rather than abrasive cream. Powder-coated sections that chalk after eight years were usually under-cured at the booth, not under-washed on site.
Specify the three numbers that matter — temper, wall thickness, break design — and the finish conversation becomes simple. Everything else on a window extrusion order can be negotiated, tested or replaced; those three are locked in the moment the die is cut.

Copyright © 2025 Jiangyin Jianbang Aluminium Co., Ltd.
All Rights Reserved.
 Aluminum Extrusion Manufacturers
Aluminium Profile Suppliers